
Why Do Kitchen Faucets Leak?

A kitchen faucet rarely begins with a dramatic failure. More often, one clear drop gathers beneath the spout, or a damp patch appears inside the cabinet. Those small clues matter. A leak can waste water, stain the sink, and damage wood if it goes unnoticed. Understanding why Kitchen Faucets leak helps homeowners identify the likely problem before replacing parts unnecessarily.

Plumbing expert Richard Trethewey, known for his work on This Old House, offers a useful diagnostic mindset. A concise paraphrase of that approach is: “Trace the water to its source before replacing the faucet.” This is not a verbatim quotation. The distinction matters because water can travel along a handle, hose, or countertop before dripping somewhere else. A worn cartridge, damaged O-ring, loose connection, or mineral buildup may be responsible. Each leaves different clues.

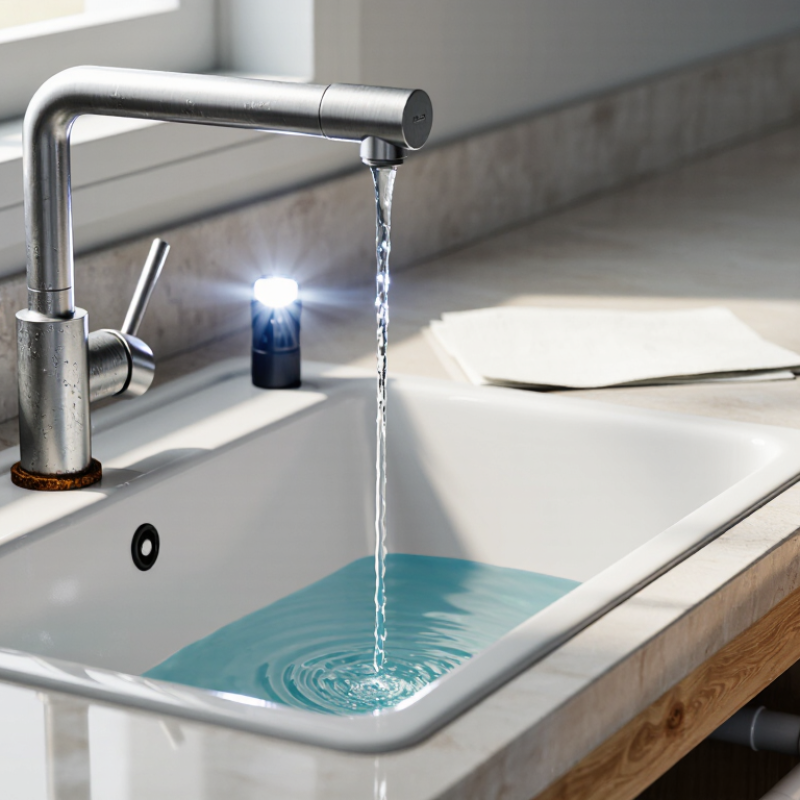
Look closely. Is water escaping from the spout when the handle is off? Does the leak appear only beneath the sink? A flashlight and dry paper towel can help reveal the first wet spot. Turn off the water supply before attempting a repair, and consult the manufacturer’s instructions for model-specific parts. Some faucets are less straightforward than repair videos suggest. That deserves honesty. This guide explains common causes, practical checks, and when a plumber may be the safer choice. A slow drip is easy to dismiss, but finding its source is usually the smartest first move.
Why Do Kitchen Faucets Leak?

How Kitchen Faucets Control and Seal Water

A kitchen faucet controls water by opening and closing a valve beneath its handle. In many modern faucets, a cartridge holds two polished ceramic discs. Turning the handle lines up openings in the discs, allowing water to pass. Moving it back shifts the openings apart and stops the flow. The fit is extremely close. Tiny grit can still scratch a surface or interfere with movement.

Older or simpler faucets may use a stem and a rubber washer. Tightening the handle presses the washer against a valve seat, blocking water. Over time, the washer can flatten, harden, or crack. That matters. A drip from the spout often points to a worn valve or seal, while water around the handle may come from an O-ring or cartridge seal. Location is a clue, not proof.

Faucets also rely on seals around the base and connections beneath the sink. A leak there can leave a damp cabinet floor, even when the spout stays dry. Dry the area, then watch where moisture first appears. Before opening the faucet, shut off its supply valves and follow the faucet’s service instructions. Avoid forcing stuck parts; overtightening can damage threads or seals. It is tempting to blame one small washer for every leak, but the exact design and leak location matter. Tiny details. Big difference.

Why Do Kitchen Faucets Leak? How Faucets Control and Seal Water

Faucet cartridges or valve assemblies regulate water flow, while internal seals such as O-rings and washers help prevent water from escaping. Worn or damaged seals can cause leaks. Excessive water pressure may also put added strain on plumbing fixtures.

The chart shows common U.S. residential pressure benchmarks, not measurements from a specific home. Guidance varies by location; pressure above 80 psi is often considered excessive under U.S. plumbing rules.

Where Kitchen Faucet Leaks Commonly Occur

Why Do Kitchen Faucets Leak?

Where Kitchen Faucet Leaks Commonly Occur

A leak’s location often points toward its cause. Water dripping from the spout after the handle is fully closed may indicate worn internal seals or a damaged cartridge. A few drops can seem minor, but repeated dripping wastes water and may worsen over time. Check whether the drip continues after the faucet has been unused for several minutes.

Leaks around the handle or faucet base often appear only when water is running. Look for beads forming where the handle meets the body, or a thin wet ring around the sink opening. Loose connections or worn seals can contribute, but water may also travel from another spot before it becomes visible. That makes diagnosis less obvious than it seems. Under the sink, inspect the supply-line connections and the area beneath the faucet. Dry the pipes first, then watch for fresh moisture while the tap runs. Avoid overtightening fittings; too much force can damage them.

Tips: Use a dry paper towel to trace moisture from its first appearance. Turn off the water supply before attempting repairs. If water keeps returning or the source remains unclear, ask a qualified plumber to inspect it.

What Causes Leaks in Faucet Components

Why Do Kitchen Faucets Leak?
What Causes Leaks in Faucet Components

A kitchen faucet may drip because its internal seals have worn down. In compression faucets, a damaged washer or valve seat can let water pass after the handle closes. Cartridge and ceramic-disc faucets can also leak when debris or mineral scale damages their sealing surfaces. Small parts matter.

The leak’s location offers clues. A steady drip from the spout often points to a worn cartridge, washer, or valve seat. Water around the handle may indicate a failed O-ring. A puddle beneath the sink can come from a loose fitting or a split supply hose. EPA WaterSense estimates that household leaks waste nearly 10,000 gallons of water per home each year. That figure covers leaks throughout the home, not faucets alone, but it shows why small drips deserve attention. Diagnosis is not always obvious; water can travel along a hose before appearing somewhere else.

Tips: Dry the faucet and cabinet, then run the tap and watch where moisture first appears. Check connections gently; overtightening can damage them. If the faucet still leaks after cleaning visible debris, replace the worn component with a compatible part. A short inspection can help, but it is not a perfect diagnosis.

Why Do Kitchen Faucets Leak? - What Causes Leaks in Faucet Components

Faucet Component Where the Leak Appears Common Cause Typical Clue Practical Action
Cartridge or valve assembly From the spout when the faucet is turned off Worn, damaged, or debris-contaminated cartridge or valve seals Water continues to drip after the handle is fully closed Shut off the water, inspect the faucet type, and clean or replace the compatible cartridge or valve parts.
O-rings and seals Around the handle, faucet base, or spout joint Seals that have worn, hardened, shifted, or been damaged Water appears around a moving joint, often while the faucet is running Disassemble the relevant joint and replace worn seals with correctly sized parts.
Aerator At the end of the spout Loose aerator, damaged washer, or mineral buildup affecting the connection Water escapes around the aerator rather than flowing cleanly through it Unscrew and clean the aerator, check its washer, and reinstall it snugly without overtightening.
Supply lines and connections Under the sink, near a hose, shutoff valve, or faucet inlet Loose connection, worn connector seal, corrosion, or a damaged hose Moisture or droplets collect beneath the sink, sometimes even when the faucet is off Dry the area to locate the source; replace a damaged line or seal. Tighten connections carefully and avoid twisting the hose.
Sprayer hose and diverter At the pull-out hose, hose coupling, or faucet spout during sprayer use Worn hose seal, damaged hose, loose coupling, or a diverter that is obstructed or worn Leakage is more noticeable when the side sprayer or pull-out spray is operating Inspect the hose and connections; replace damaged parts and clean or replace the diverter if the spray flow is also abnormal.
Faucet body or spout From a crack or damaged section of the faucet body Physical damage, corrosion, or stress from excessive force or freezing conditions Water emerges from the metal body rather than a joint or outlet Turn off the supply and arrange replacement of the damaged faucet body; sealant is not a reliable permanent repair.
Mounting hardware and base seal Around the faucet base or through the sink mounting area Loose mounting hardware or a failed seal that allows splashed water to pass through Water appears around the base, especially after the sink deck gets wet Check whether the faucet is secure and inspect the base seal. Reinstall or reseal according to the faucet maker’s instructions.

Before disassembling a faucet or supply connection, close the hot- and cold-water shutoff valves under the sink and open the faucet to release pressure. If a shutoff valve will not close or a leak persists, contact a qualified plumber.

How to Trace a Leak to Its Source

A kitchen faucet’s drip is a clue, but its location can be misleading. Dry the faucet and nearby counter with a towel, then run cold water and watch closely. Check the spout, handle, and faucet base separately. Water may travel along the metal before it falls, so the first drip is not always the source.

If the spout drips while the faucet is off, a worn cartridge, washer, or valve seat may be letting water through. A leak around the handle often appears only when water is running. If water pools at the base, look for moisture near the spout joint and handle seals. Also inspect beneath the sink with a flashlight. Damp supply-line connections can mimic a faucet leak. It is easy to miss a slow seep; a dry paper towel can reveal one.

Tips: Dry each area before testing it again. Turn off the shutoff valves before taking anything apart, and open the faucet to release pressure. Avoid forcing stuck parts or overtightening fittings; that can damage seals. If the source remains unclear, or a connection keeps leaking after gentle tightening, a plumber can identify the faulty part safely.

How Faucet Design Affects Common Leak Causes

A kitchen faucet can leak for different reasons, and its design often points to the likely fault. In a compression faucet, separate handles press rubber washers against valve seats. A worn washer may let water drip from the spout after shutoff. A damaged seat can cause the same symptom. Single-handle faucets usually rely on a cartridge, ball assembly, or ceramic discs. Mineral deposits or a nicked seal inside the assembly can cause drips. Loose connections beneath the sink more often leave water in the cabinet. Small clues matter.

The leak’s location helps narrow it down, but it is not a diagnosis by itself. Water around a handle may come from an O-ring or stem seal. Water at the base can travel from a spout seal or nearby hose. Dry the faucet and cabinet, then run water and watch with a flashlight. Don’t force a stuck handle; brittle parts can crack. A small leak can look dramatic once water runs underneath the sink. Still, check the supply connections too.

Tips: Shut off the supply valves before opening the faucet. Photograph the parts as you remove them. Match replacement seals to the faucet’s assembly, not just their appearance. If the leak continues after reassembly, or a valve will not close, get qualified help. A slow drip is easy to underestimate.

Go to Top